
Photographing Ducks and Other Waterfowl
Nov 2011
By: Laura Crawford Williams
Does Anyone Respect A Duck?
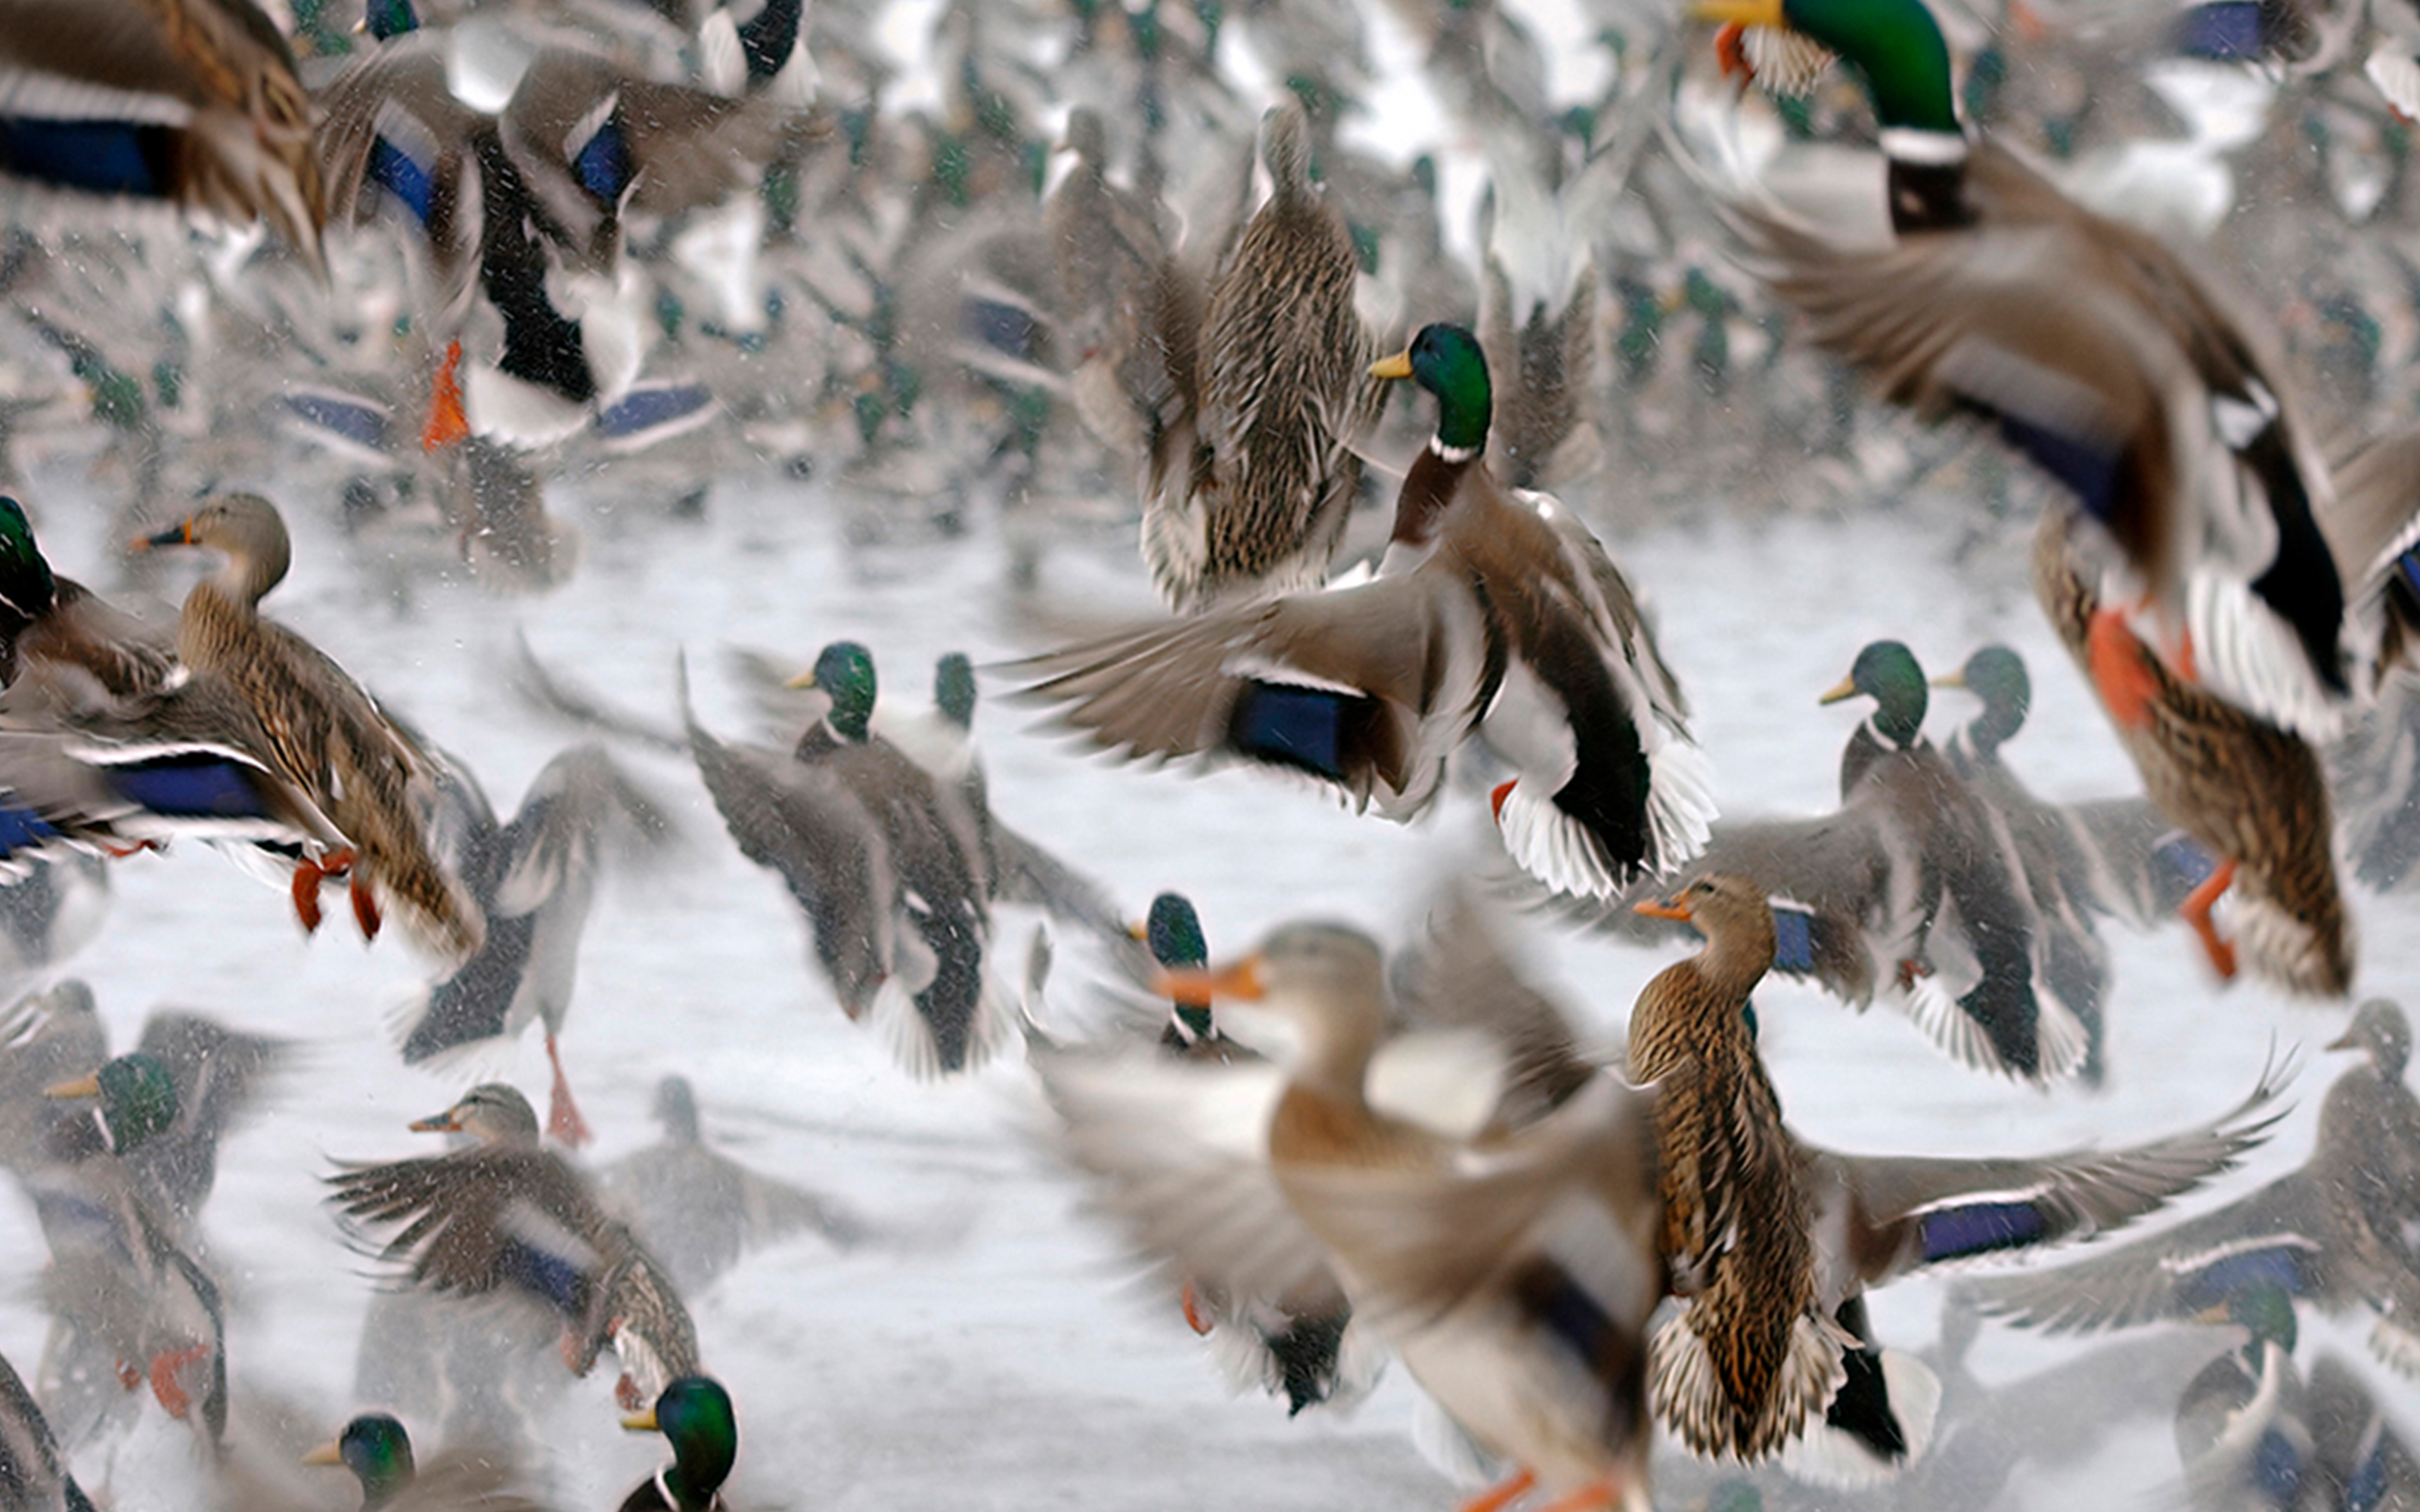
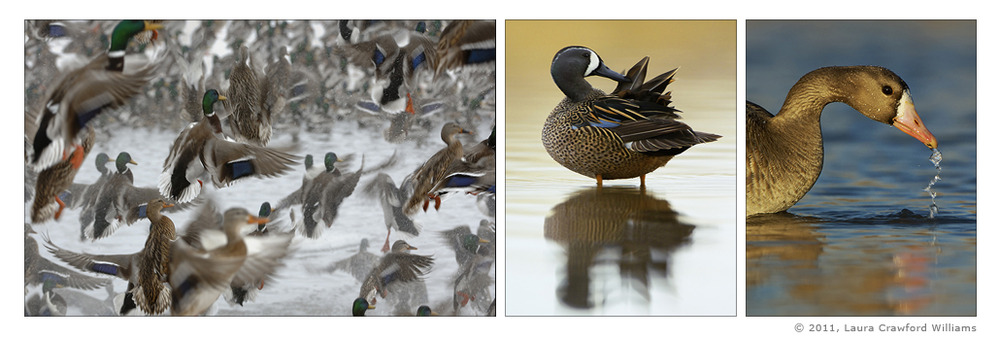
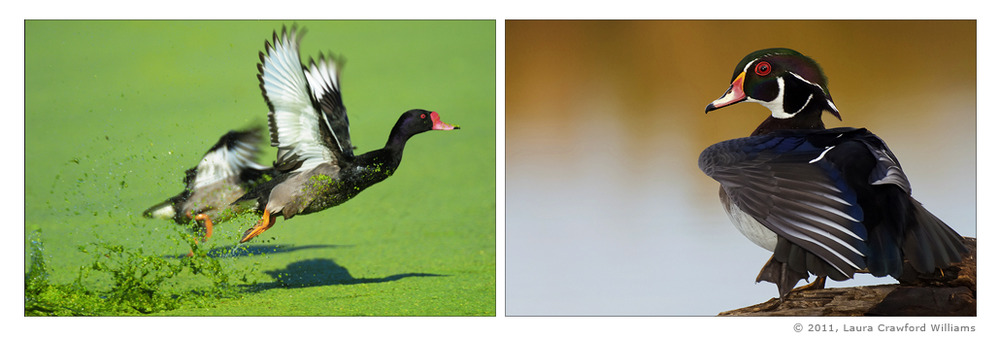
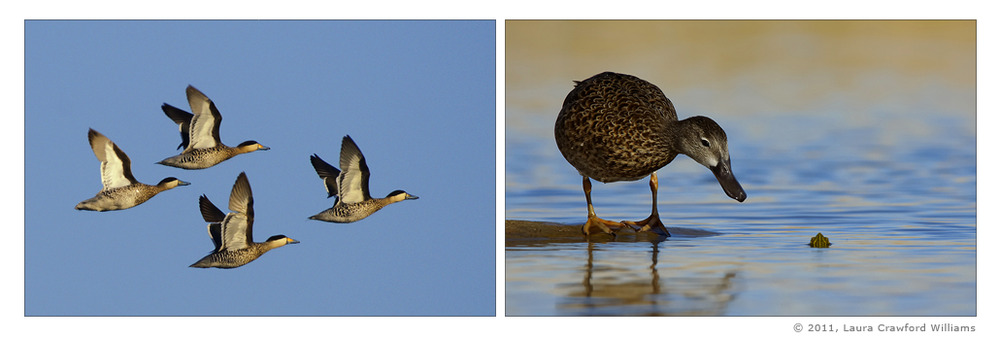
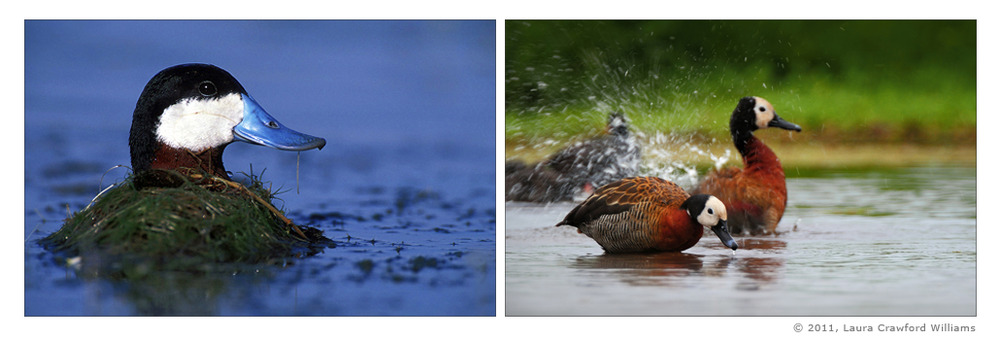
Even the most serious birders often ignore this waddling family of birds. To children ducks are funny birds to be chased, hunters look at them as targets, and to most other people ducks are the amusing birds you feed at the park when pigeons aren’t around. They waddle awkwardly and the most common ones quack. (There’s really no way to make a quack sound graceful.) Ducks make us laugh. Even their courtship displays make me giggle. They flip their heads, raise their butts, and kick water up with their feet. You can watch multiple males as they circle around a female doing all of the above. To a girl-duck this is sexy. To the rest of us, it‘s simply comical. But, when taken seriously, ducks are also beautiful. The patterns and colors of feathers can compete with the best work from graphic designers and modern artists. They’re also extremely skittish, which makes them difficult to photograph. They don’t like humans getting too close. This article describes what I’ve learned about photographing wild ducks and other waterfowl.

Preface
First, let me say that the easiest way to photograph ducks is to go to a public park where they are used to human presence. This is a great way to get good shots of a variety of species and a great place to practice. Boat docks are also a good place to go, again because the birds are used to humans being nearby. But, I prefer photographing wild ducks in wild locations and that’s what this article is about.
In Search Of…
For me, truly wild ducks need to be photographed from a blind. But, first you have to find them. You have to do some fieldwork and find a location where the ducks come to feed in the morning and evening. Small ponds and farm fields are excellent places to start. Ask farmers or refuge managers where you can find flocks of waterfowl. Once you have your location, it’s time to observe the birds from a distance. This takes a little patience and a pair of binoculars. Visit the location at least one morning and afternoon. What birds are there? Where are they consistently hanging out – on the shore, near a specific food source, on a fallen branch or island? Is it the same location each morning and evening? Where is the sun? Will it be better to shoot at sunrise or sunset? Start looking for a place to put your blind (make sure you have permission to do so). Find one that faces a clean or interesting background with the sun behind you.
Setting Up The Blind
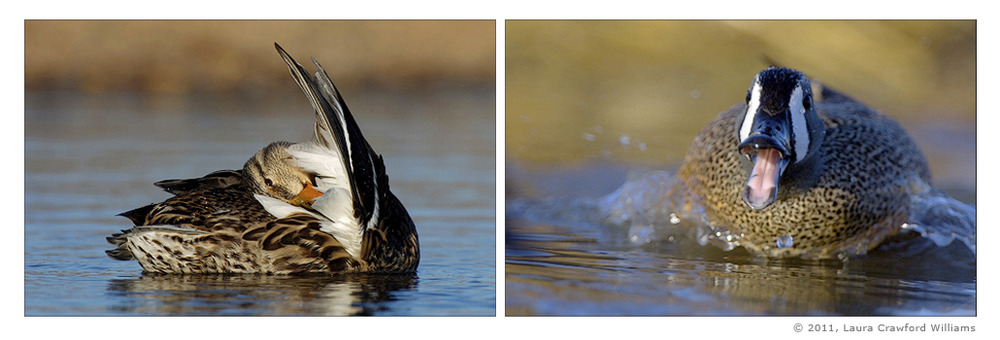
When setting up the blind, do it when the birds aren’t around. I use small, one-person bivy tents that I’ve adapted for photography. They keep me low to the ground so I can shoot looking eye to eye, not looking down. These tents also resist wind and are easy to set-up and transport. Ducks may be afraid of a blind at first, but should get comfortable with it quickly. If they do not, remove the blind immediately. When I shoot in ponds, I like to add a nice looking log in the water, off to one side. Birds often climb up on it after feeding and begin to preen. This provides you an opportunity to photograph a different behavior. Before leaving, I c lean my setting a little bit, removing sticks and debris in front of the blind.
Do Your Homework
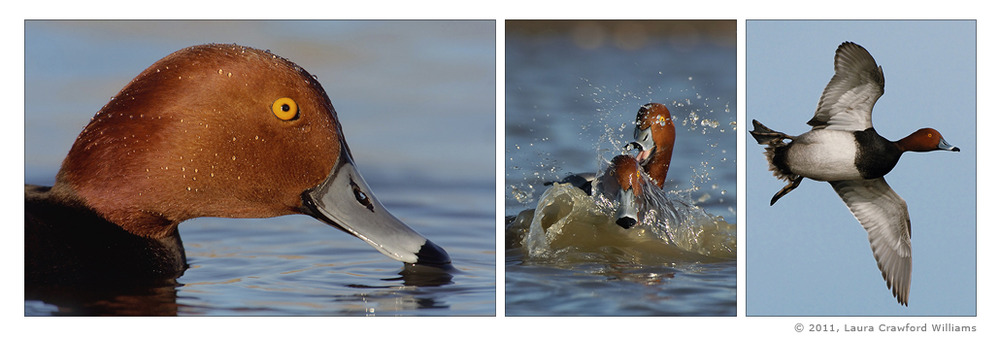
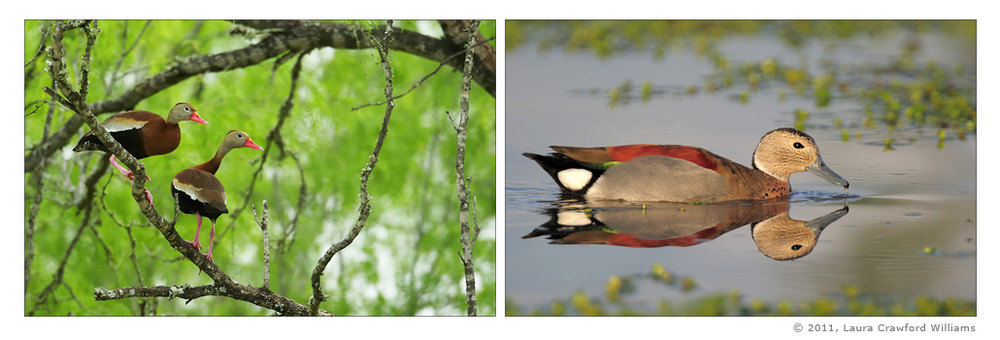
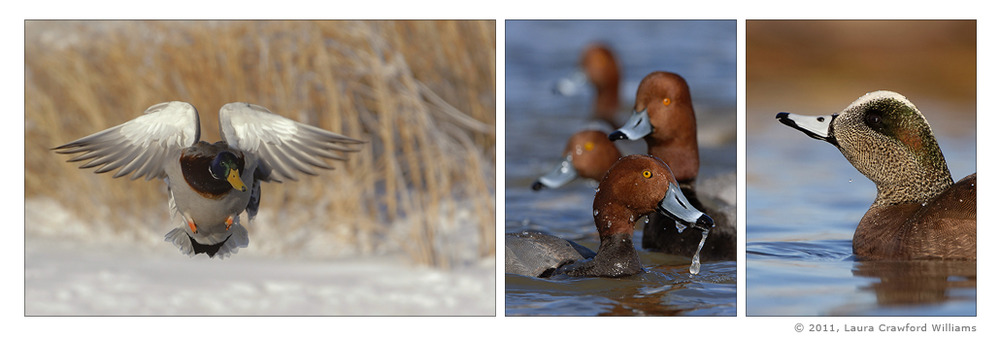
While scouting your blind location, you should make a list of the birds you see. Bring your field guide and try to identify each species while out in the field. Chances are that with ducks will also be geese, shorebirds, or other waterfowl. Once you get home, do a little homework. Learn about various behaviors you might see like ceremonial drinking, breeding displays, bonding gestures, or threat displays. Books like Stokes Guide to Bird Behavior or Sibley’s Guide to Bird Life and Behavior will give you clear and succinct descriptions that prepare you. Take as much knowledge as you can with you into the blind. You will take better and more interesting pictures.
Don’t Stress The Animals
Go into the blind before the birds arrive. I prefer to shoot ducks in the mornings so I go into the blind well before sunrise. W hen you’re finished shooting, only leave the blind once the ducks are gone! Don’t stress or scare them. It won’t help them or your photography!
Start Slowly
When inside the blind for the first time, start slowly. In the beginning, ducks may be afraid of your movements or the sound of your camera. Move very slowly and start by taking only a few images every so often. Stop once the birds look nervous and let them relax and return to feeding before beginning again. Eventually, they will accept your movements and the sounds of the camera. I find movement to be the most intimidating for them. Sound doesn’t seem to bother them as much.
The Elements Can Trick You
Let’s say you’ve done everything perfectly, you enter the blind only to find that for some reason the birds didn’t come back. There are two elements that can change your plans. Very windy days can be a problem. I find the birds are more skittish with high winds. Perhaps they can’t hear impending danger as well or maybe raptors have an advantage with the wind speed. I’m not sure. But, the most difficult (and often surprising) obstacle is the moon. When the moon is very bright on a mostly clear sky, ducks will change their pattern and feed at night. So, be aware of the weather and phases of the moon as you plan your days in the blind.
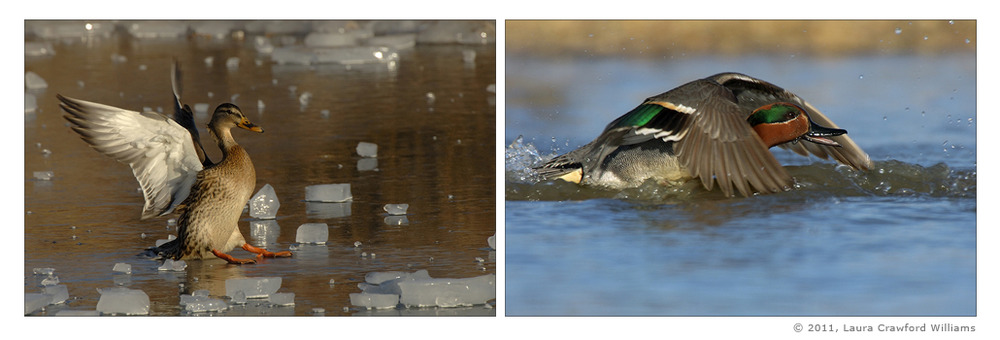
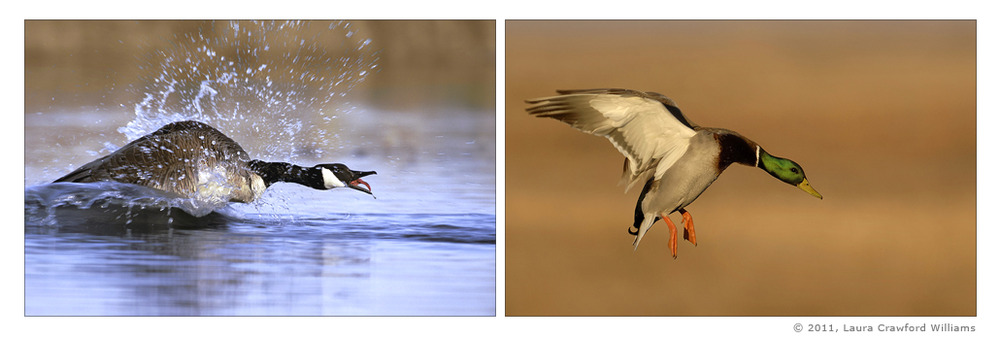
Don’t Forget To Catch The Action
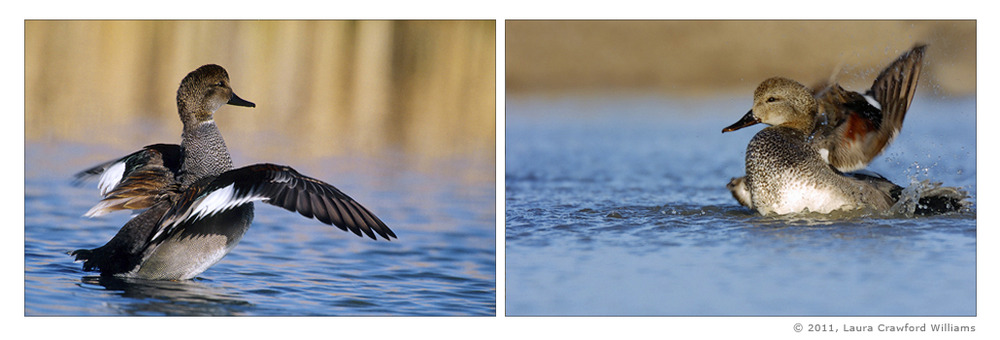
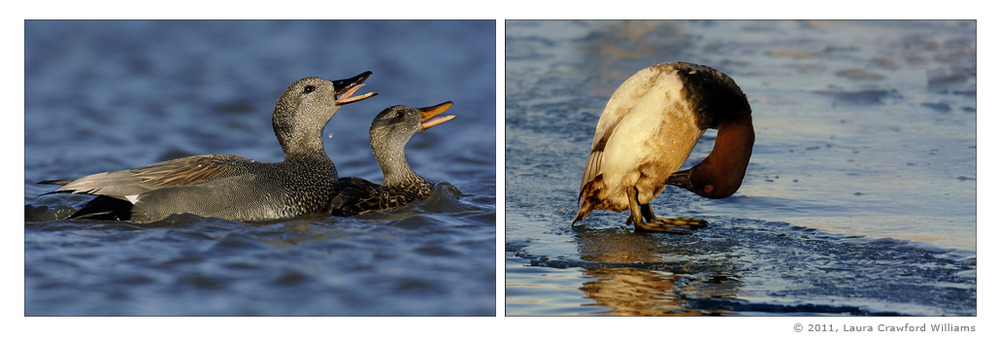
My best advice is to go for action, interaction, and behavior shots! If you did your homework you should know what species you’re looking at and what some of their more common behaviors will be. Often times, a sound or movement precedes an interesting behavior. Listen, watch, and have fun!
Summary:
- Don’t stress the animals, always respect them.
- Ask locals in rural areas where birds go to feed mornings and evenings.
- Observe from a distance before deciding how to begin.
- Look for a ‘feature’ where ducks repeatedly visit (log, localized food source).
- Ask permission to set-up a blind.
- Place blind when the birds aren’t around.
- Place blind with sun to your back and facing the most pleasing background.
- Clean your ‘setting’ a little (don’t go crazy).
- Add a perch or log nearby to maximize shooting opportunities.
- Identify the birds you’ll be shooting; learn behaviors beforehand.
- Never enter or exit the blind while birds are around.
- Remove a blind that causes birds to change behavior.
- Watch for weather related elements that can change feeding habits.
- In the blind, start slowly, let birds get comfortable with your movements.
- Shoot action and interaction, not only portraits.